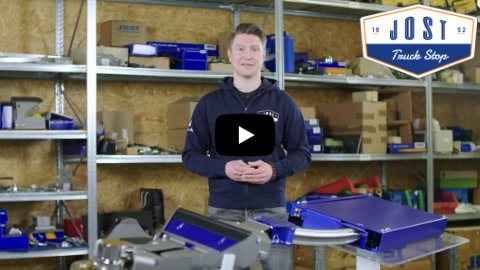
The trailer components of the KKS-U consist of the wedge with the KKS connector, which is already equipped with a JOST king pin, a spiral spring and the cable box. First you have to check if there is enough mounting space under the trailer. It has to be at least as much as the measures shown here.
Start with uninstalling the existing king pin. In this case we have the valve unit with the pipe filters already pre-installed on the mounting bracket and have prepared it for installation. The pre-assembled mounting bracket can then be installed on the chassis. It is mounted in such a way that the pipe filters are facing in the direction of travel. The pneumatic supply lines are divided and connected to “in” 1.1 and “out” 2.0 of the corresponding directional valve.
Advice: To avoid confusing the lines it is recommended to mark the control and supply line with yellow and red tape respectively before dividing them.
Next step: Installation of the cable box
Pre-assemble the cable box before mounting it on the trailer. To do so, first compile a U-shaped structure from the side plates and cover plate. Fasten the side plates to the cover plate with three cable ties each. Then align the cover plate to the drilling holes and fasten it. Bevor you tighten it firmly remove the cable ties.
Now you can install the wedge with the king pin. Position it on an assembly jack under the trailer. Then lift it up and put it into mounting position. Screw in the king pin with the supplied screws. When tightening, be sure to observe the specified tightening torque.
Now you can mount the swivel bracket. That is the connection to the cable box. Insert the swivel bracket with the cable harness into the cable box, align and fix it. Then position the screw connections and tighten them with a torque spanner and 10 Nm. As a check, make sure that the distance 480 +5 mm for the spiral spring pre-tensioning has been correctly observed.
Advice: If the control dimension (measure) is not correct, simply loosen the screws in the cable box and adjust the pretension via the slotted holes. Then you can slide the base plate into the cable storage. Make sure that it fits exactly and screw it in with the specified tightening torque. Then check the reset of the wedge. To do this, swivel it several times by approx. 20°. It must return by itself and should not rub against the sliding plate. To make the fine adjustment of the wedge, the adjusting nut is adjusted until the wear piece rests against the king pin.
Then turn the adjusting nut 45° further and secure it with the lock nut. Check that the swivel wedge can be moved freely by ±50° in both directions and then secure the adjusting nut with the lock nut.
An auxiliary marker is recommended to ensure that the 45° is set safely. The setting is perfect when the wedge can be moved freely by ±50°.
Now the pneumatic lines are connected. The marked supply and control lines are laid coming from the wedge in the direction of the valve unit and connected to the corresponding pipe filter. Then connect the electrical cables coming from the swivel wedge to the plug connections provided. The Modul E-Drive landing gear is simply connected to the cable harness with the plug provided.
Finally, the electrical supply lines are laid in the direction of the trailer end wall, the ISO plugs are connected and connected to the sockets provided. After assembly, a system check is carried out with the KKS tractor unit and a test drive is made.
More information on KKS-U for existing trailers
Now you can use your trailer with the KKS system and be fit for the future! If you want to know more about the KKS and the KKS-U, take a look at the our website: kks-futurenow.com
In addition to that, our product manager gives some more insighs into KKS-U for existing trailers in another video: JOST Truck Stop #28
